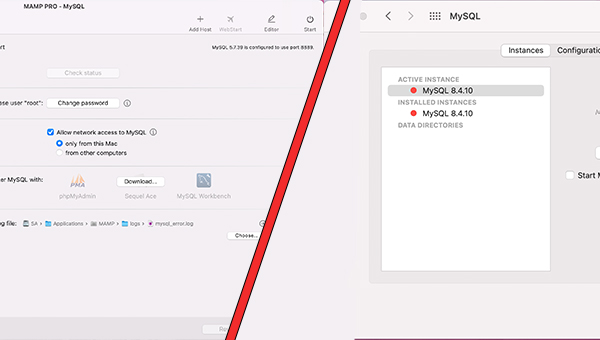
Mamp Pro is very convenient for developers. Test everything locally before uploading to the hosting—what else do you need?
But Mamp Pro 6.9 includes MySQL 5. And the new version of Joomla 6 requires MySQL 8.
What should I do? Buy Mamp Pro 7 with MySQL 8 for 99 euros? Or can I do it myself?
Here are the instructions:
Migrating a Joomla Database to MySQL 8
(MAMP PRO 6.9 + macOS Monterey)
Step 1. Exporting the Old Database (Backup)
- In the original MAMP PRO (when MySQL 5.7 was still running), we logged into phpMyAdmin.
- Selected the baza database.
- Using the Export> tab (Export) Downloaded the backup copy in .sql format to your computer.
Step 2. Downloading and Installing MySQL 8 Server
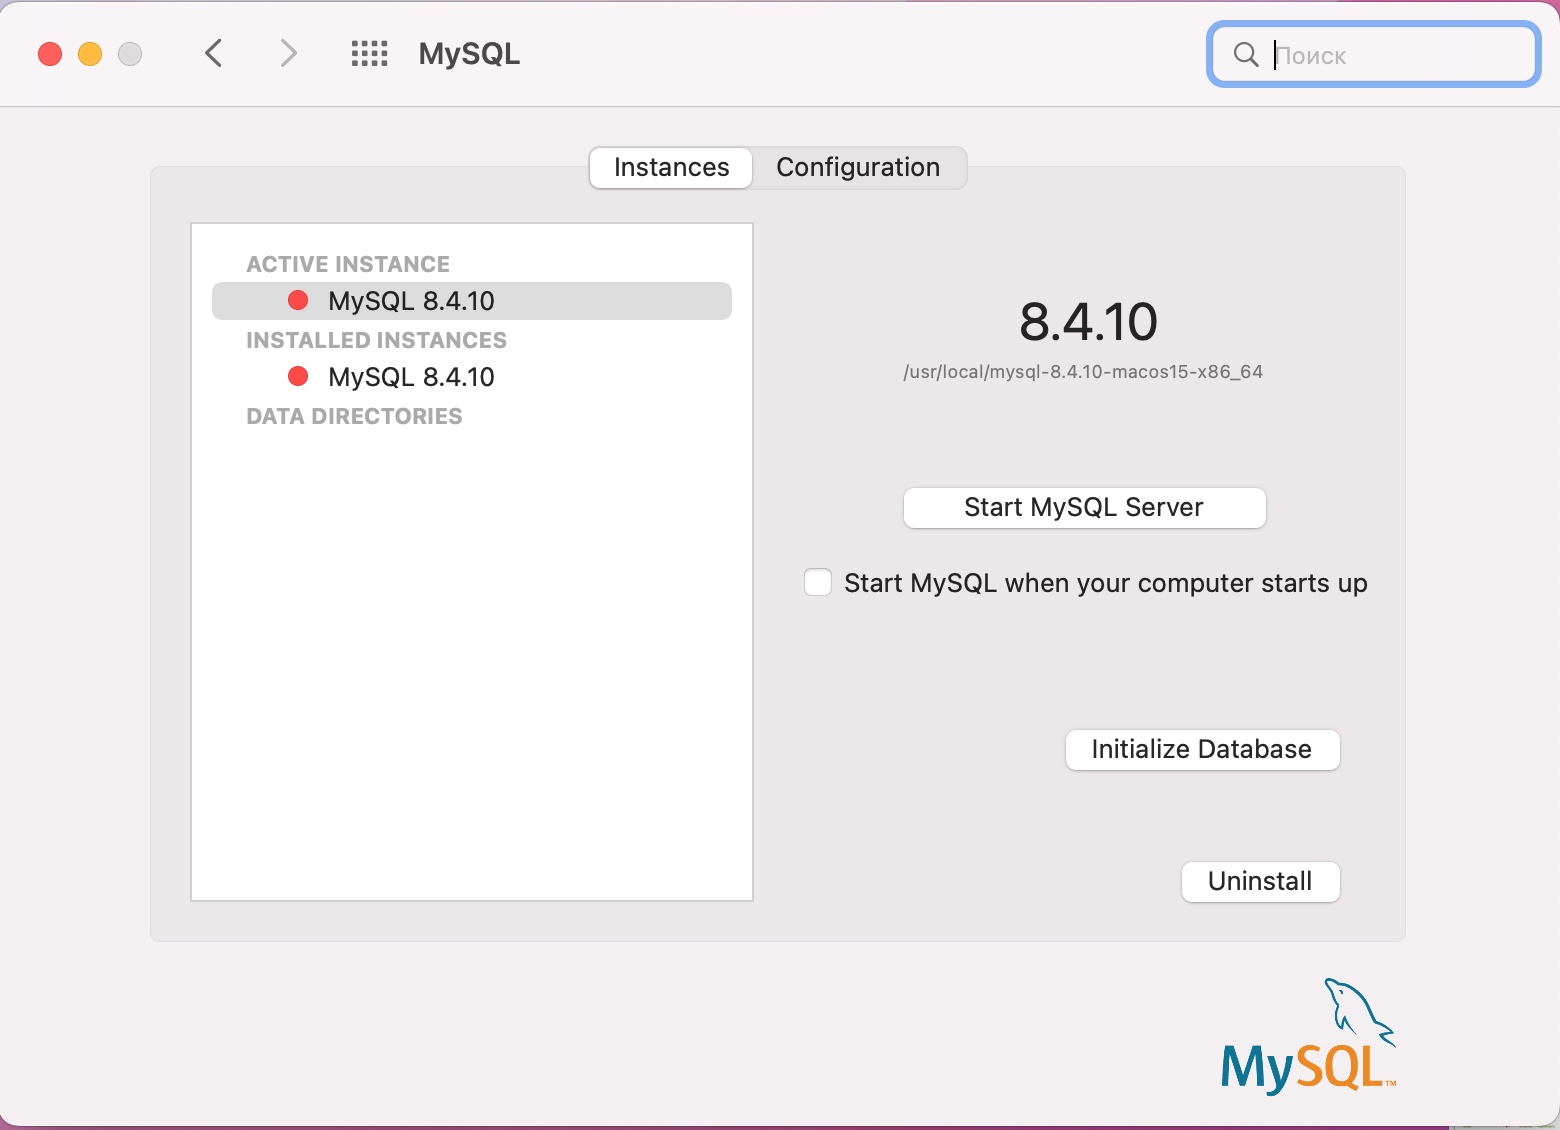
Since the built-in functionality of MAMP PRO 6.9 does not support switching to MySQL 8, and the Homebrew utility returned a network error (Could not resolve host), we installed the server manually:
- Used a browser and accessed the official website mysql.com.
- We chose the free version of MySQL Community Server for macOS.
- Downloaded the DMG archive (selecting the version for your Mac's processor: ARM for M1/M2/M3 or x86 for Intel).
- Run the .pkg installer from the DMG file.
- Important: During installation, select Use Legacy Password Encryption (for compatibility with older versions of PHP in MAMP) and set a new password for the root user.
Step 3. Configuring MAMP PRO 6.9
To prevent the old built-in MySQL and the new system MySQL 8 from conflicting over port 3306:
- Open MAMP PRO.
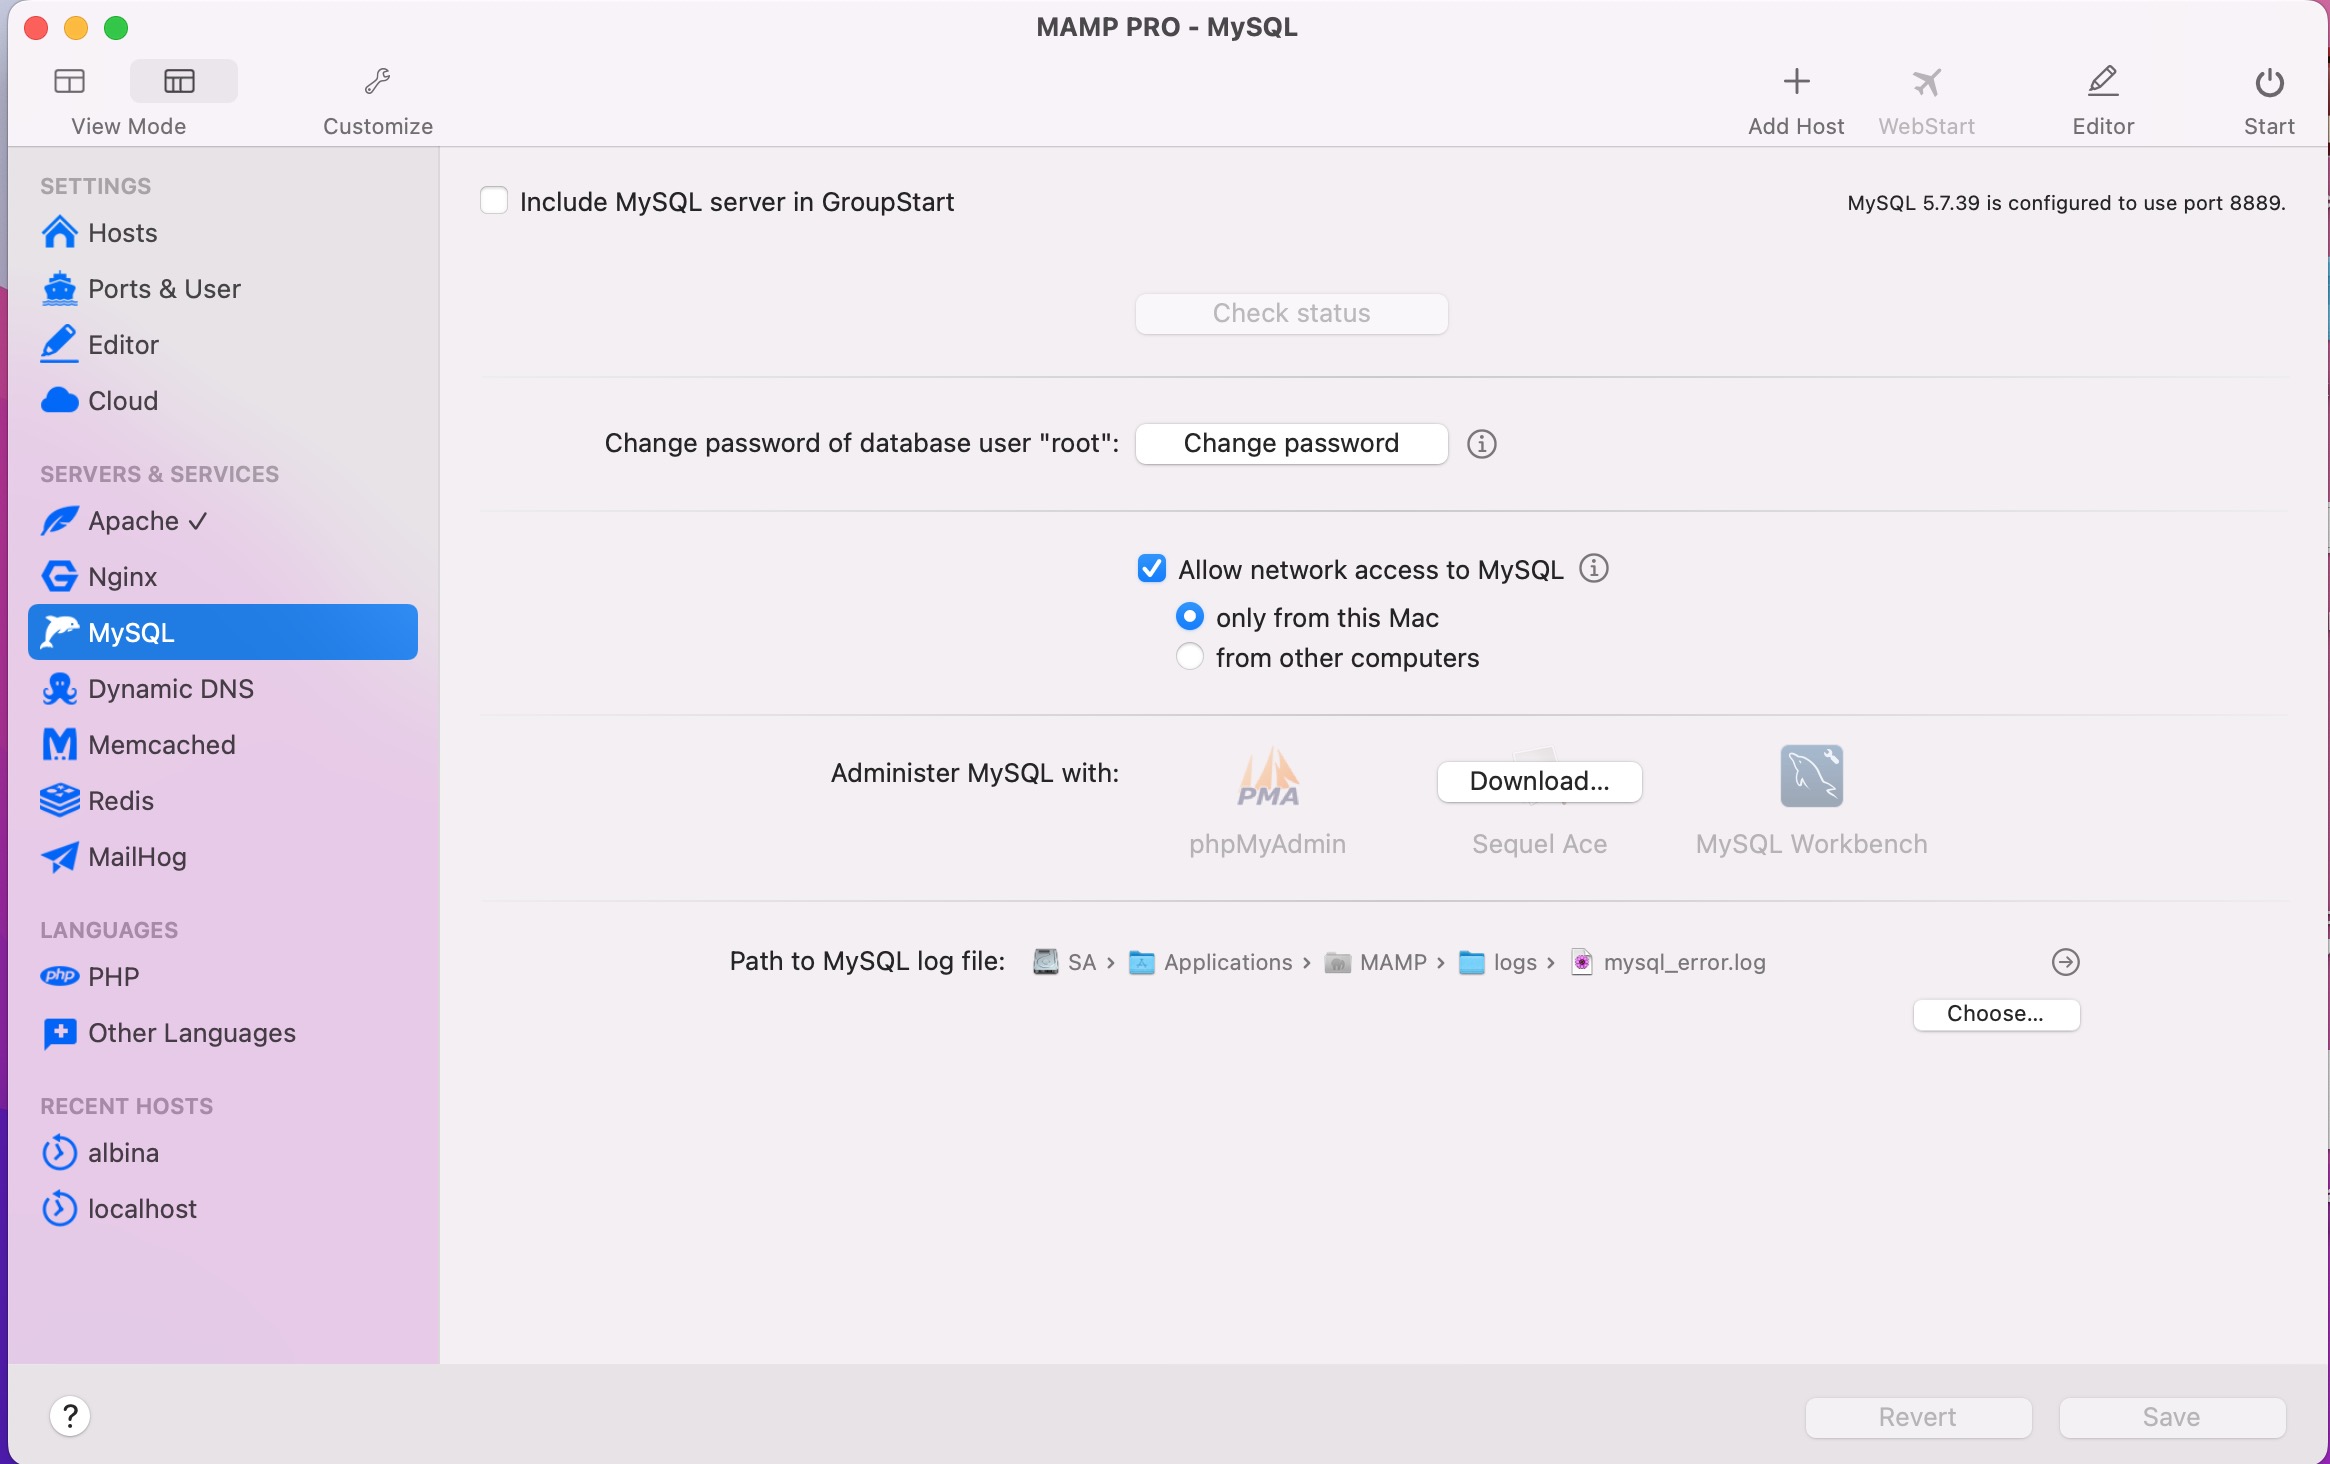
- In the left sidebar, under SERVERS, select MySQL.
- Uncheck "Enable MySQL server" (MAMP stopped running version 5.7).
- Start the web server (Apache/Nginx) by clicking the Start button.
Step 4. Configuring the connection in Joomla (configuration.php)
To ensure the site starts sending requests to the new isolated Database server, we edited the Joomla configuration file:
- Opened the configuration.php file in the root of the site.
- Changed three key lines: php
public $host = '127.0.0.1'; // Specify the IP so the Mac doesn't confuse sockets
public $user = 'root'; // The main user of the new server
public $password = 'YOUR_NEW_MYSQL_8_PASSWORD'; // Specified in Step 2
Step 5. Installing the Database Manager (DBeaver)
Since the latest version of MySQL Workbench 8.0.47 refused to install on the old macOS 12 Monterey, we chose a modern alternative — DBeaver:
- Downloaded and installed the free DBeaver Community program dbeaver.io/download/.
- Created a new MySQL connection with the following parameters: Host 127.0.0.1, Port 3306, User root, Password for MySQL 8.
- During the first connection test, we allowed the program to automatically download the necessary Driver.
Step 6. Creating a Database and Importing Data into DBeaver
- In the left panel of DBeaver, right-click the "Databases" folder and select Create -> Database.
- Name it baza.
- Right-click the created baza database and select Tools -> Execute SQL Script.
- Select our .sql backup file from Step 1 and click Start. The data and table structure have been successfully deployed to MySQL 8.
A reminder for working with the database in DBeaver/Workbench:
If you need to execute an SQL query manually (for example, update a user's password to MD5), always follow one of two rules to avoid the "No database selected" error:
- Option A: Explicitly specify the database name in the code before the table:
sql UPDATE you_tab.jos8t_users SET password = MD5('new_password') WHERE username = 'admin';
where — you_tab - is the prefix of your database.
- Option B: Before execution Double-click the baza database name in the left sidebar (to make it bold) or select the database from the drop-down list on the top toolbar.